A typical installation is five pieces of work, done in the right order. Skip any one of them and
you
end up with a cabin that feels like an extension lead with pretensions.
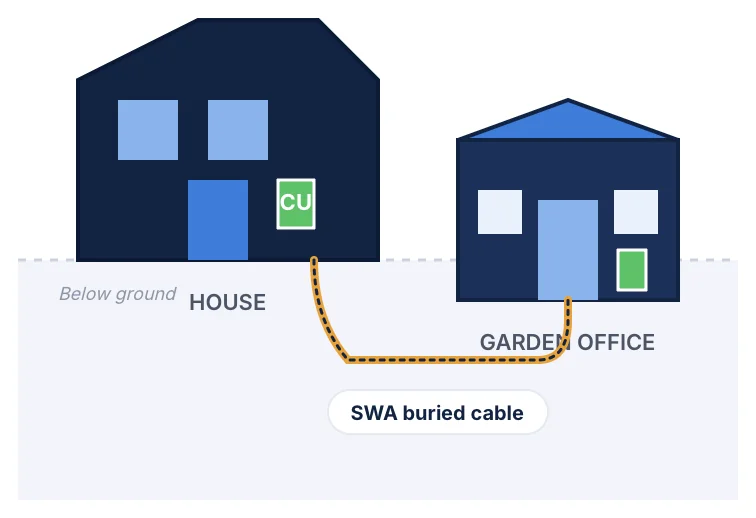
The supply comes first. A correctly sized sub-main runs from your existing
consumer
unit (or from a newly added spare way) out to the cabin, buried in SWA (steel wire armoured)
cable
at the required depth, protected against spade damage and damp. At the cabin end, a small
dedicated
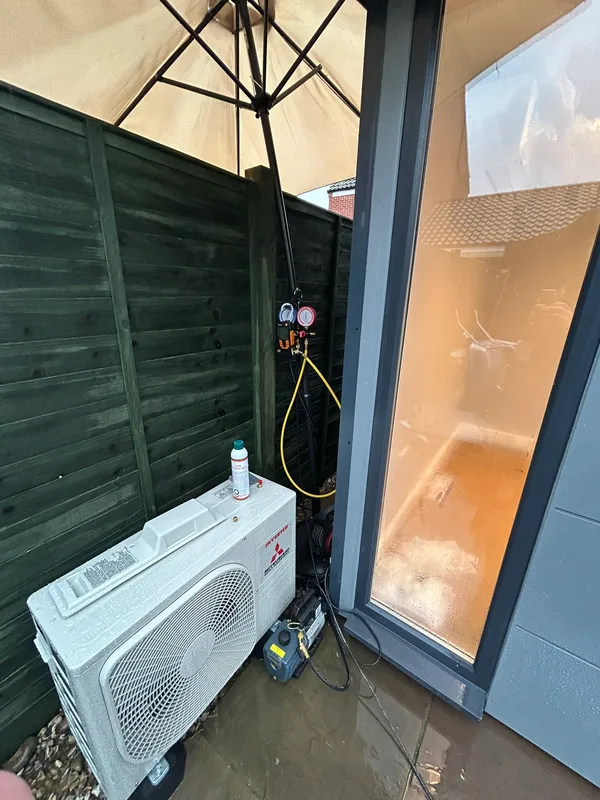
consumer unit handles the circuits inside the office: one for sockets, one for lighting, and
usually
one for air conditioning.
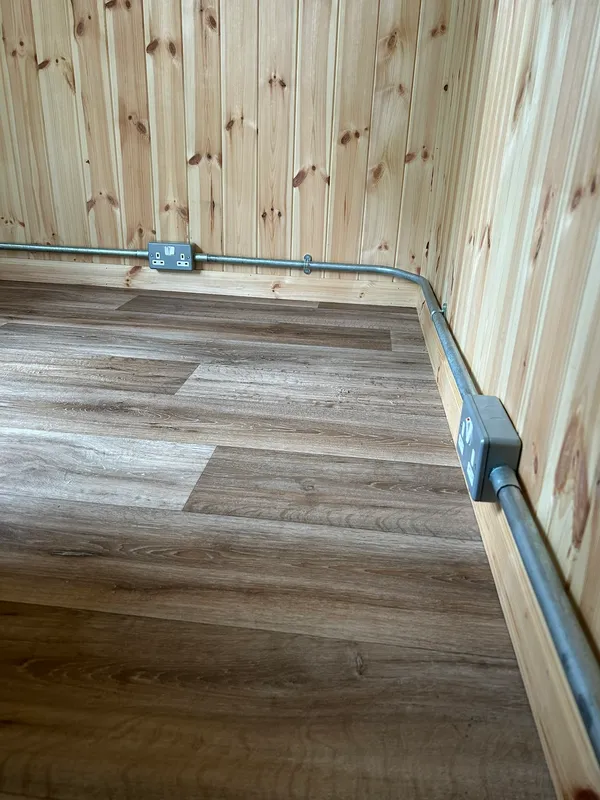
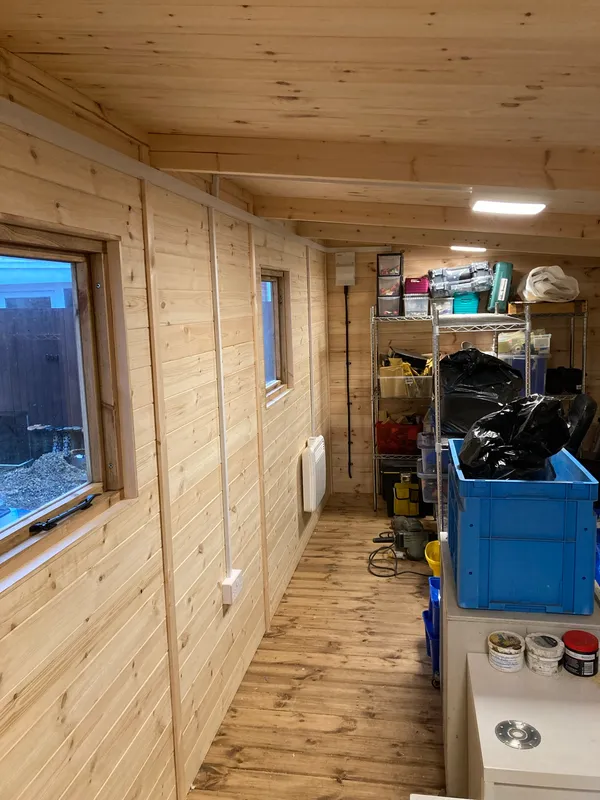
Then the interior fit-out. Sockets are planned around how you actually use the
space: one behind the monitor, one each side of the desk, one on the opposite wall for a kettle
or a
printer, one outside for a garden light or a garden mower charger. Lighting is laid out for task
and
mood, usually a mix of downlighters and a feature fitting, on a dimmer where it helps. Data and
TV
cabling is pulled in before the internal walls are lined, because doing it after costs three
times as
much.
Sign-off. You receive the Electrical Installation Certificate, a circuit
schedule for the cabin's board and any air conditioning commissioning paperwork. We walk you
through the controls and the maintenance points before we leave.
The thing that sets this work apart from a standard domestic job is the sub-main. Getting the
cable
size right for the run length and the likely loads (office equipment, air conditioning, a
kettle,
maybe a small electric heater) is the single most important decision in the whole installation.
Undersized cable is the most common mistake on garden office electrics. Everything downstream of
an
undersized supply will feel underpowered, and retrofitting a larger cable once the garden is
landscaped is expensive and disruptive. We size cable generously at the quote stage, not
optimistically.